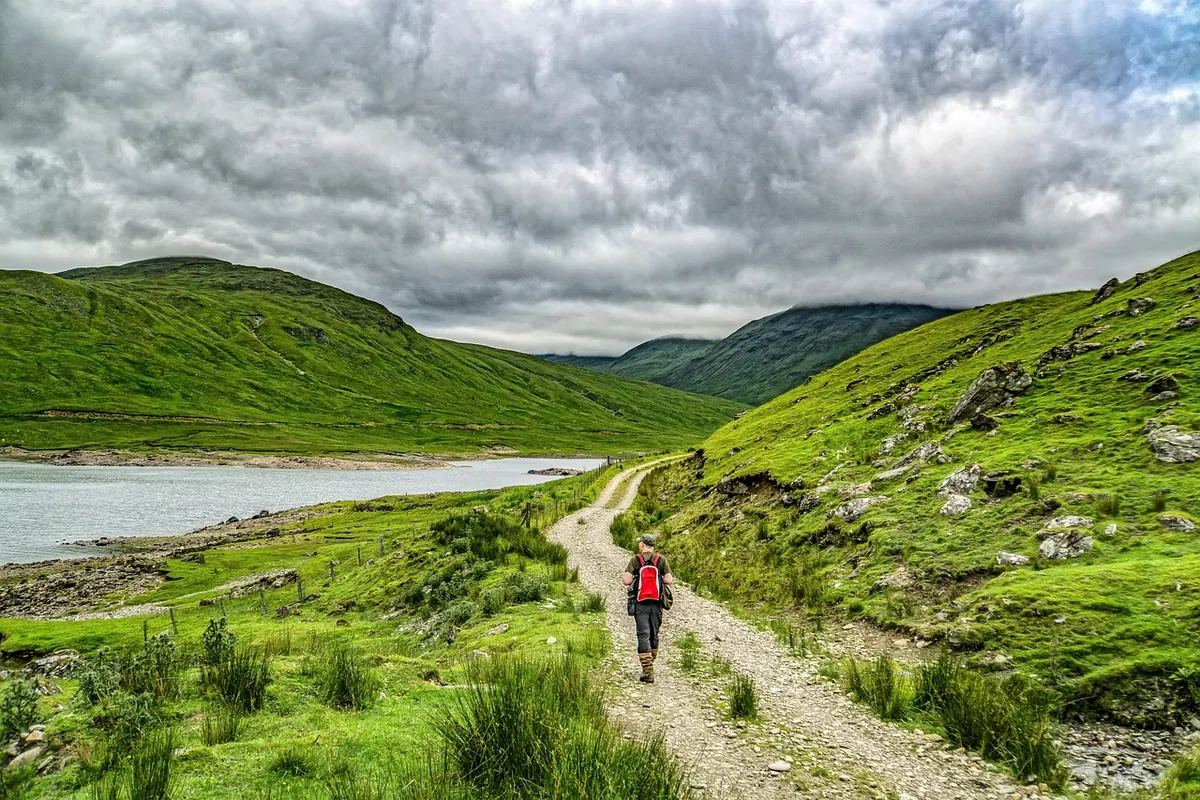
A first countryside walk rarely goes wrong for dramatic reasons. It goes wrong because the route was half a mile longer than it looked on screen, because the gate at the far end was tied shut, or because the waterproof stayed in the car after a promising morning. All of that is easy to plan around. You just have to make the decisions in the right order: where, how far, what the ground is like, what the sky is doing, and what goes in your bag.
Circular routes are kinder than there-and-back walks for a first attempt. You see new ground the whole way, and you are never relying on a bus timetable or a lift to get home. Look for waymarked trails — yellow arrows for public footpaths, blue for bridleways — because someone has already checked the route and negotiated the awkward bits.
Three reliable places to find one: the Ordnance Survey Explorer series (1:25,000, orange covers), on paper or in the OS Maps app; your local council, national park or National Landscape website; and landowning bodies such as the National Trust and Forestry England, which publish short waymarked walks and often hand out free maps at the car park. Cross-check two sources where you can. A guidebook route plus a map is a good pairing: the book tells you where to park, the map tells you the truth about the shape of the ground.
For a first outing, skip descriptions that mention exposed ridges, boggy moorland or cliff edges. Leave those until you know how you cope with a long uphill and a headwind.
A comfortable beginner's distance is shorter than most people expect. Three to four miles is a genuinely satisfying first walk; five is a step up. The mistake is measuring distance as though it were a stroll around a park.
On flat, firm paths, most people manage somewhere around two to two and a half miles an hour without pushing. Add time for climbing, for mud, for gates and stiles, for stopping to check the map, and for standing still admiring the view. A walk with 150 metres of ascent will take noticeably longer than the same distance on the flat, and a route across plough or bog can halve your pace.
Set your finish time against the sunset rather than your optimism. In winter, aim to be back at the car or the village with an hour of daylight in hand.
Contour lines tell you almost everything. Where they bunch together the ground is steep; where they spread out you can relax. If you are using an app, look at the terrain view rather than just the line drawn over it.
Ground underfoot matters as much as gradient. Chalk downland and sandy heath drain quickly and stay walkable after rain; clay, which covers a good deal of the Midlands and the Weald, turns into something closer to a skating rink. River valleys flood. Peat holds water and hides holes.
Then check how the route crosses farmland. Most paths are public rights of way; a few are permissive and can be closed on certain days. Follow the Countryside Code: keep to the path across crops, leave gates as you found them, and take everything home. Where cattle are grazing, give them room and never walk between a cow and her calf. Dogs belong on a short lead around livestock, and around ground-nesting birds in spring.
Look up the forecast for the hills and the coast, not the nearest town. Exposed ground runs several degrees colder and considerably windier than a sheltered valley fifteen minutes away, and cloud can sit on a ridge all day while the village below is in sunshine.
Read four things: rain, wind speed and direction, visibility, and the time of sunset. Wind matters more than temperature on open ground — a steady twenty miles an hour turns a mild day into a cold one on a summit. If fog is forecast, pick a low-level route with clear landmarks. After heavy rain, expect flooded paths in valley bottoms and plan around them.
You do not need much, but the handful of things you do need should be in the bag before you set off, not improvised on the way.
Tell someone where you are going and when you expect to be back, and stick to the route you described. Phone signal in the countryside comes and goes, often in the places you would most want it, so download the map for offline use before you leave the house and treat a signal as a bonus rather than a plan.Photo: louiepastore / Pixabay
How to walk through British villages and farmland without causing offence: gates, livestock, driveways, rights of...

A first-timer's guide to the South West Coast Path: reading tides, staying safe near cliff edges, judging distances...

A practical guide to minimising your impact on the British countryside, covering path use, waste, wildlife...

Exploring paths, places, and stories of rural Britain..
